It all started in March 2024 when I made my full-time switch to Fedora Sway Linux. I had previously installed Ubuntu flavors in the past, but they always ended up short-lived. I needed a reliable laptop for my Data Science coursework and purchased a refurbished Lenovo T470 laptop on Amazon. The thing is a tank! I was attempting to create a dual-boot partition, but accidentally wiped my drive, effectively saying goodbye to Windows 10. It was one of the best mistakes I made, forcing me to dive deep into Linux.
Fast forward to September 2025, and I took the leap to installing Arch Linux (with the guided installer, of course). I had previously failed to install it on two previous attempts. I installed Hyprland and was quite pleased with the results. After two months of daily use, I decided to go the more complete route and install Arch Linux from scratch, using the manual method. This was all thanks to KubeCraft! I joined KubeCraft a month ago, and the sheer amount of knowledge I’ve gained is astonishing. It took a good week to understand what was going on under the hood. I failed a good ten times before I successfully installated Arch and was able to log-in. Due to short spurts I had between my AM/PM commute and late nights, I was bound to miss a letter or a step.
This article isn’t a substitute for how to manually install Arch Linux – there are many documented options available. The Arch Wiki is the official and most comprehensive documentation source. I will break down the installation into two parts, as this is how I was meticulously breaking it down daily on my end. I have an hour-long train commute, and my hotspot is notoriously unstable, making it impossible to download the large pacstrap package.
Create a Bootable USB
Firstmost, acquire an installation image. It is recommended that you verify the signature to prevent using a malicious image. Next, prepare your USB. Use the lsblk utility to find your USB. Look for something like /dev/sdb. Do not use the partition, sdb1, for example. Once formatted, locate your iso and make it bootable. It's also a good way to try different Linux flavors.
# Unmount the USB before writing
umount /dev/sdb*

# Locate your iso image and flash it to the USB
sudo dd if=arch-linux.iso of=/dev/sdb status=progress
Connect to WiFi
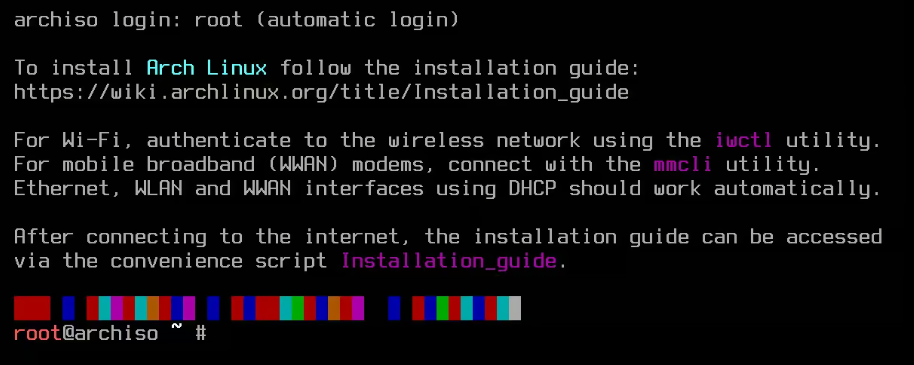
During the pre-boot sequence, locate the key to access the BIOS settings. For my Lenovo T470, it’s F2. Select Arch Linux Install Medium from the GRUB boot menu. You’ll be greeted with the initial visualization to the right. First, we will need to connect to Wi-Fi or simply connect an Ethernet cable. Enter the iwctl utility to scan and connect to your Wi-Fi network. Replace my-network-name with the actual name of your network.
# Internet wireless control utility
station wlan0 scan
station wlan0 show
station wlan0 get-networks

# Locate your network and enter passphrase when prompted.
station wlan0 connect "my-network-name"
exit the iwtl utility and confirm connection by using the ping command in root. Set a root password and your local time.
# Password and local time setup
passwd
timedatectl
Partition 1: EFI Boot
Let's make the EFI partition. This partition acts as the storage for the UEFI boot loaders, applications, and drivers to be launched by the firmware. This is mandatory for UEFI to boot. We will use lbslk to identify our primary hard drives. It could be dev/nvme0 or dev/sda. In my case, it's the latter. Run fdisk /dev/sda to initiate the fdisk utility. Type g to create a new GPT partition table, followed by n to create a new partition. Select partition 1 and +1G to create a partition of 1 Gigabyte, more than sufficient for the EFI system. Then, specify the filesystem type by typing t and selecting 1 for EFI.
Note: L display all the available partition types.
Partition 2: Logical Volume Manager (LVM)
Varous partitioning schemes exist depending on your desired flexibility, speed, and security. I chose the LVM partition for it dynamic ability to create and resize volumes and integrate it with the LUKS encryption. Read about the encryption options on the Wiki page.
Start by creating a new partition by typing n. Hit Enter to accept the new default partition, first sector, and the last sector when prompted. Next, type t to change the partition and select 44 to choose the Linux LVM type. Then, p prints the partition table and w writes changes to the disk. Confirm the new partition types using lsblk and/or fdisk -l.
Cryptsetup
The next step is to encrypt the partitions using the Linux Unified Key Setup (LUKS). LUKS essentially creates an encrypted container on /dev/sda, employing a 256-bit key size to encrypt the data. The cryptsetup utility then opens this container for use. Then, create a physical volume (PV) and confirm the setup with lsblk.
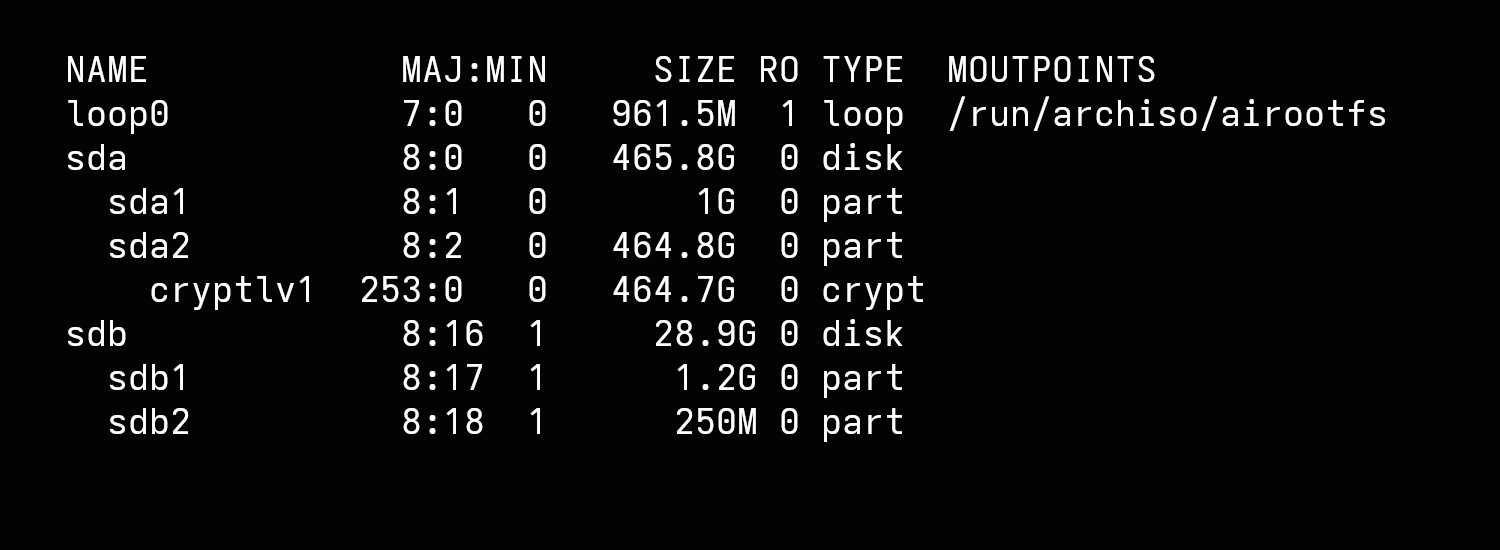
cryptsetup luksFormat /dev/sda2
cryptsetup open /dev/sda2 cryptlvm
pvcreate /dev/mapper/cryptlvm
lsblk
Create Physical Volumes
To finalize the partitioning, we will create individual logical volumes within our volume group, which we will label archie. We will create a root, swap, and home logical volume with sizes tailored to my own laptop. A swap partition prevents out of memory conditions by providing virtual memory. Without swap, the Linux kernel will automatically attempt to free up memory by killing processes. Change your volume sizes as it pertains to your desired configuration.
vgcreate archie  /dev/mapper/cryptlvm
lvcreate -L 32G archie -n root
lvcreate -L 16G archie -n swap
lvcreate -L 400G archie -n home
Format the File Systems
Now we format the partitions using the EXT4 filesystems for storage. The EFI partition requires FAT32 in order for the system to reboot.
mkfs.ext4 /dev/archie/root
mkfs.ext4 /dev/archie/home
mkswap /dev/archie/swap

# Make FAT32 system
mkfs.fat -F32 /dev/sda1
Mounting
Now, we mount the partitions for the installation process. The mount order is:
- root
- boot
- swap
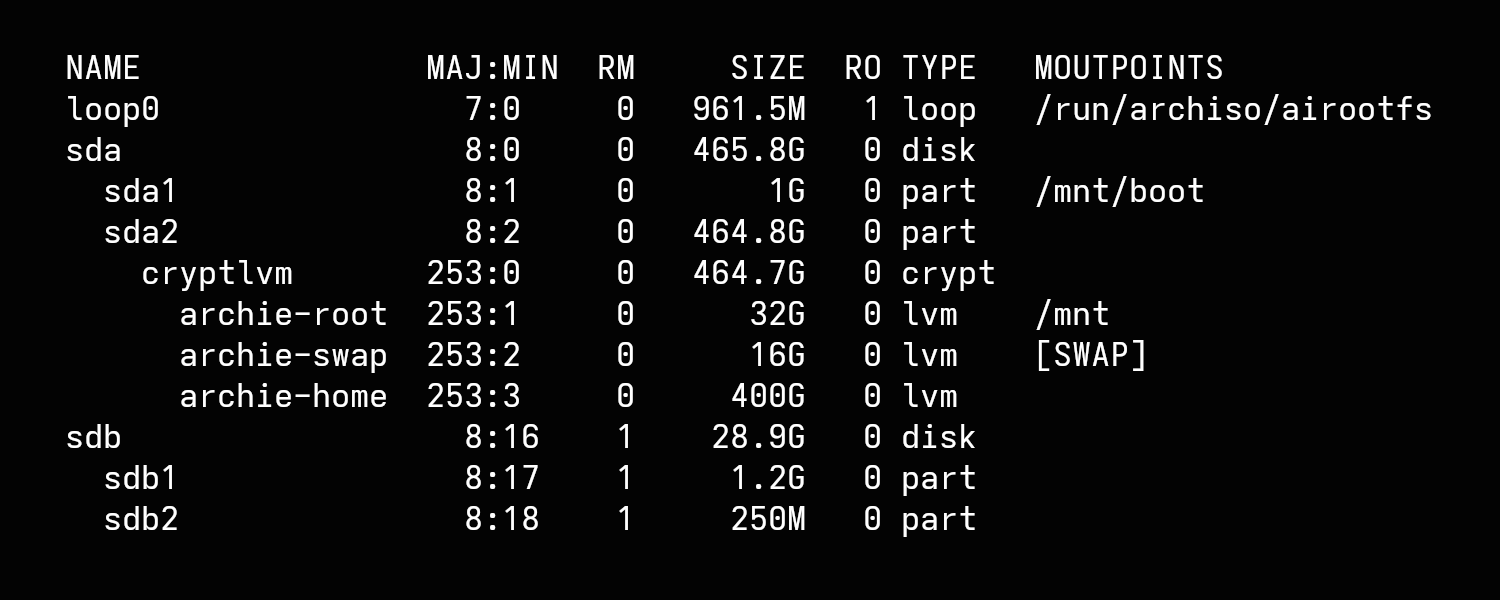
mount /dev/archie/root  /mnt
mount --mkdir /dev/sda1  /mnt/boot
swapon /dev/archie/swap
lsblk
Base Package and Fstab
Finally, install the base package and configure the filesystem. It will take a few minutes due to the size. Once installed, we will use fstab to generate the filesystem table. Use the cat /mnt/etc/fstab command to confirm that the partitions are in the correct mouting order as detailed in the previous step. Then, arch-chroot /mnt to switch to the new system environment and finally ls -l to see the system directory. Don't unplug your USB yet!

# Install base package
pacstrap -K /mnt base linux linux-firmware

# Perform fstab
genfstab -U /mnt >> /mnt/etc/fstab

# Enter your installed Linux system
arch-chroot /mnt
ls -l
This concludes part one of the installation. See you in the second series for the final installation.