Welcome back to the Arch Linux installation! We'll pick up right where we left off. Remember to visit the Arch Wiki for the most comprehensive documentation and to help you setup your own personal configuration. This guide will walk you through setting up the locale, network, mkinitcpio, and the system configuration.
Set Local Time
Begin by setting up the local time in your area. Accurate time settings are vital for logging, scheduling, and for date-time sensitive processes. By default, Arch Linux kernels have a feature to synchronize the system clock every 11 minutes. Synchronization is done using systohc. Once set, confirm your local time using the date command.
# Set local time
ln -sf /usr/share/zoneinfo/US/Eastern/New_York /etc/localtime
hwclock --systohc
Install vim
An editor will be necessary for some of the remaining steps. We wil also install other essential packages, including man-db and man-pages for local reference. My laptop has an Intel chip, but if you have an AMD processor, use amd-ucode.
#Install essential packages
pacman -Syu vim which sudo man-db man-pages texinfo intel-ucode lvm2 iwd openssh bash-completion
Network Configuration
Next, we’ll enable the system daemon system-networkd to manage network configurations and create virtual network devices as they appear. We will also install systemd-resolved, which centerally manages and centralizes network name resolutions (DNS, LLMNR, mDNS) requested by local applications. To configure your local administration network, create the file /etc/systemd/network/25-wireless.network. To edit this file using vim, enter vim !!. We will set wlan0 as the wireless network interface. Dynamic Host Configuration Protocol (DHCP) will be used and it allows the system to automatically obtain an IP address, subnet mask, gateway, and DNS servers from the router. A three-second timer is set to ignore losses of carrier signal, which is useful for noisy environments and for maintaining stable connections. Lastly, enable the iwd service so your computer automatically connects to the wireless network upon boot.
# Enable the network service
systemctl enable systemd-networkd.service
systemctl enable systemd-resolved.service


# Edit 25-wireless.network
[Match]
Name=wlan0

[Network]
DHCP=yes
IgnoreCarrierLoss=3s

# cat to confirm
cat /etc/systemd/network/25-wireless.network

# Enable iwd
systemctl enable iwd.service
mkinitcpio
Next, lets focus on mkinitcpio, the utility that creates an intial ramdisk environment for booting the Linux kernel. The initial ramdisk is a small environment responsible for loading and configuring various kernel modules before init can begin. The first step in this process is configuring the keyboard layout to the desired locale. You can do this either by editing /etc/locale.conf in vim or by typing echo “LANG=en_US.UTF-8” >> /etc/locale.conf". Then, enter vim /etc/locale.gen and uncomment en_US.UTF-8 UTF-8. To apply these changes, run locale-gen and then use cat /etc/locale.conf to confirm the settings. To configure the virtual console to the US keyboard layout, insert echo "KEYMAP=us" >> /etc/vconsole.conf. Lastly, add a hostname via echo "archie" >> /etc/hostname.
The HOOKS array within mkinitcpio contains essential packages that are included in the initramfs image and are run during its build process. Each hook performs a specific operation, ensuring the system boots in the proper sequence. Edit the file in vim as per below. The line is above the COMPRESSION section.
# vim /etc/mkinitcpio.conf
HOOKS=(base systemd autodetect microcode modconf kms keyboard sd-vconsole block sd-encrypt lvm2 filesystems fsck)
After editing the configuration file, run mkinitcpio -P to build and install the new initramfs image. You will receive a message, "Initcpio image generation successful".
Bootloader Configuration
Now install the EFI firmware boot settings and bootloader using the bootctl install. Follow this immediately with bootctl update to ensure all installed versions of systemd-boot are correctly updated. Confirm succesful creation of entries by typing ls /boot. The EFI folder will now be visible there. I set a four-second timeout to select Arch Linux during startup, but you can make it faster :). The vmlinuz-linux and initramfs-linux are images and specify the LUKS encrypted root partition, its UUID, and the root filesystem. Obtain the UUID of the encrypted disk, sda2, by using blkid command, and then place that UUID into the arch.conf file between the equal signs. Replace archie with your volume group name.
# vim boot/loader/loader.conf
      timeout 4
      default arch.conf
      console-mode max
      editor no

# Obtain UUID from sda2
blkid
vim arch.conf
:.!blkid

# vim boot/loader/entries/arch.conf
title Arch Linux
linux /vmlinuz-linux
initrd /intel-ucode.img
initrd /initramfs-linux.img

options rd.luks.name=UUID=cryptlvm root=/dev/archie/root  rw
Add Username
We're almost there! Now it's time to add a new user, create a home directory, and grant sudo access. My chosen username will be colonq. To create a user and add them to the necessary group, type useradd -m -G wheel colonq, followed by groups colonq to confirm the group membership. Next, access the sudoers file by typing visudo and uncomment the line wheel %wheel ALL=(ALL:ALL) ALL. This grants members of the wheel group administrative privileges. Finish by setting up a password for the new user with the command passwd colonq
Unmount and Reboot
Before unmounting the file systems, let's confirm the setup of the root and swap partitions. Use the lsblkcommand to view all block devices, and then ls /dev/mapper to verify your encrypted partitions are correctly listed. You should see the following.

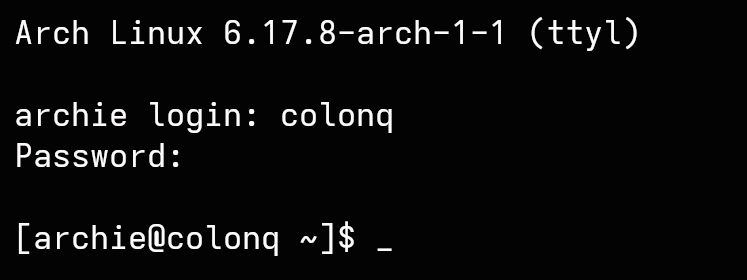
First Login
Your base Arch Linux installation is now complete! Now, safely exit the root shell by typing exit. Perform umount -R /mnt and swapoff -a. Execute reboot and remove the USB drive as the system restarts. You will then be greeted by the TTY login screen. Login using the user credentials you created, and you are officially in!
From here, the real customization begins. In my next article, we'll explore Hyprland vs Cosmic OS. Stay tuned!